


Baxwbakwalanuksiwe'
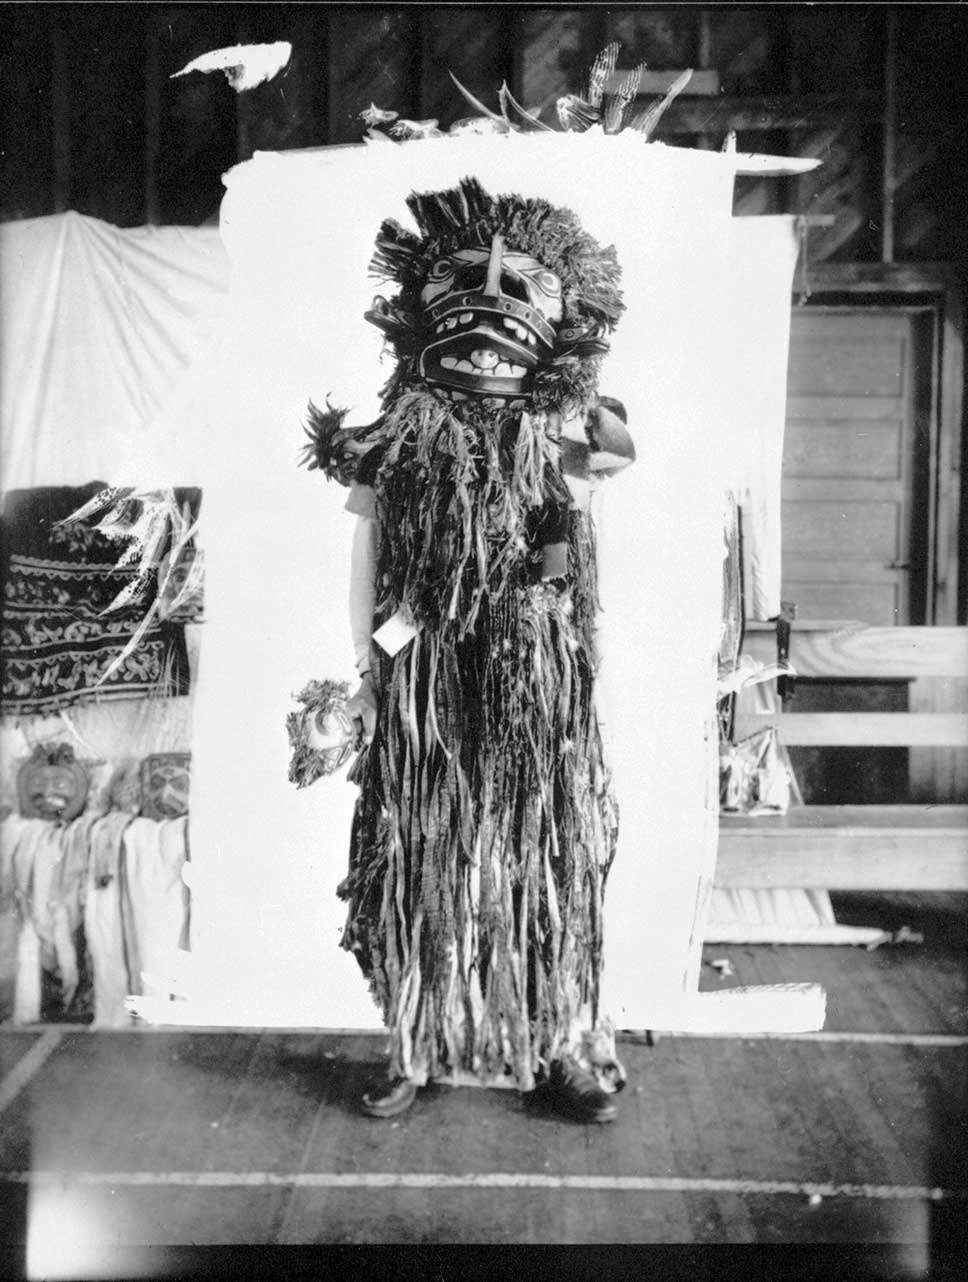
Chief Johnny Drabble wearing Baxwbakwalanuksiwe' mask & costume after surrender of regalia, Parish Hall, Alert Bay, 1922
Photo: William Halliday, Royal BC Museum, AA 188
Chief Johnny Drabble wearing Baxwbakwalanuksiwe' mask & costume after surrender of regalia, Parish Hall, Alert Bay, 1922
Photo: William Halliday, Royal BC Museum, AA 188